 Kallarity · User Guide Documentation
The Contracts page
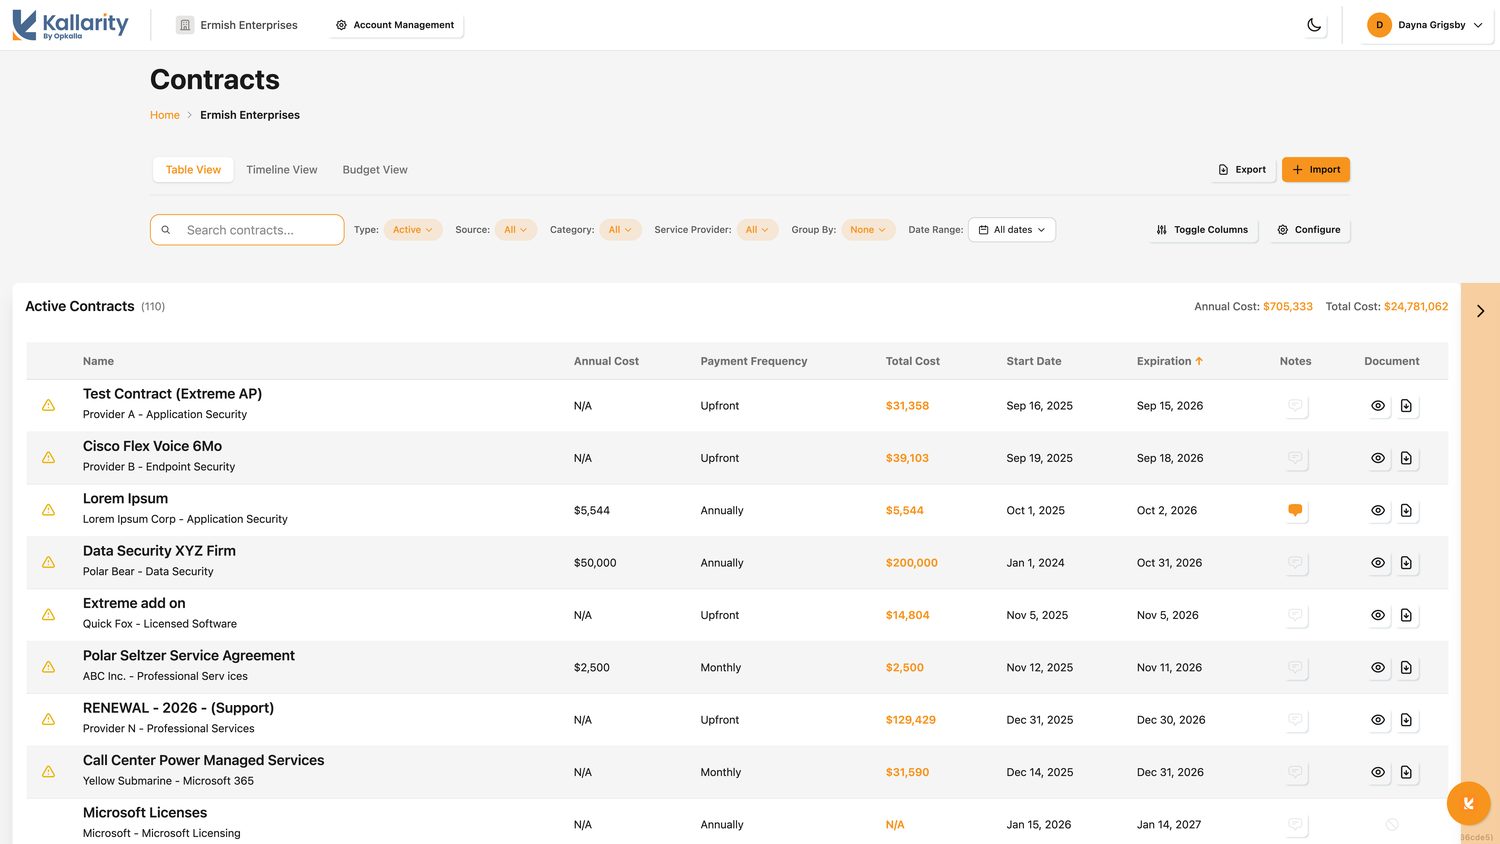
The Contracts page is where you'll spend most of your time. It lists every Opkalla contract and any contracts you import yourself.
Choosing what you see
Use the filters across the top of the table to choose which contracts appear:
- The Type filter shows every contract past and future, or only Active ones.
- The Source filter shows only the contracts you've imported.
- The Category and Service Provider filters tailor the view to exactly what you need.
- Group By a field to show subtotals, such as every contract from a single service provider grouped together.
Then use Toggle Columns or Configure to show exactly the fields you care about: dates, provider, spend, and more. Your choice is remembered the next time you open the list.
Where your contracts come from
Most contracts sync automatically from Salesforce, so their titles are internal shorthand rather than names you chose. You can rename any contract to something that makes sense to you from its detail view, and the rename sticks even when the contract syncs again. You can also add contracts you track outside of Opkalla by importing them, and they show up alongside synced ones everywhere in the app.
Reviewing a contract
- Scroll the tableReview the high-level details on each contract.
- Preview with the eye iconClick the eye icon to preview a contract.
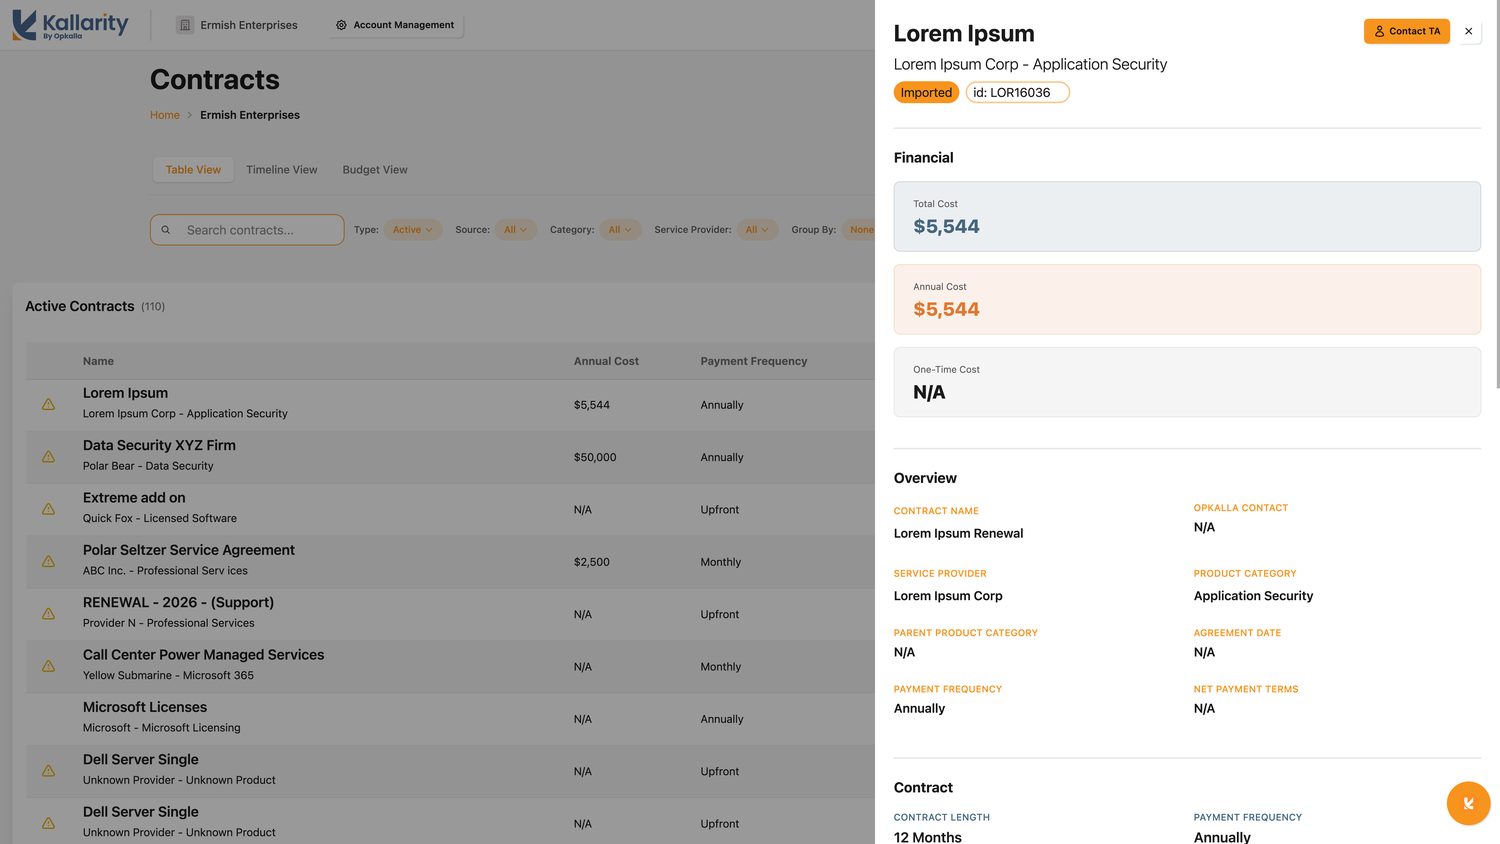
- Open Contract DetailsRename a contract, explore its full details, add your own notes, or remove an import.
Contacting your advisor
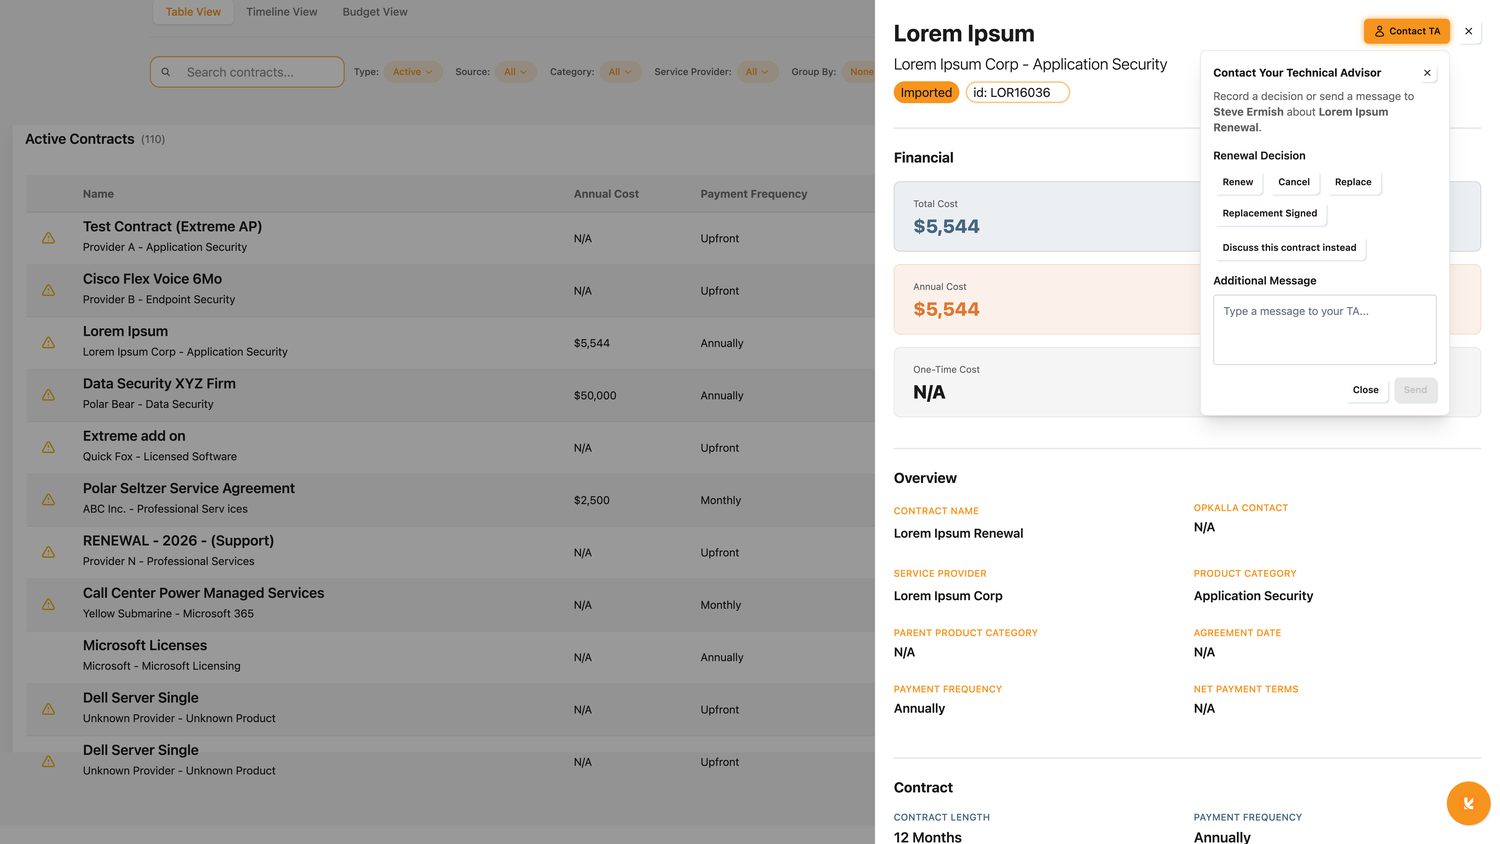
When you want to discuss, renew, or cancel a contract, click Contact TA. This flags your Opkalla advisor to reach out to you.